Thinking about a way to cut down on electricity bills and make your home more energy-independent? Installing a home solar system might just be the solution. In Pakistan, solar power is an ideal option. Thanks to the country’s ample sunlight year-round. Plus, the government’s support for solar energy through net metering policies. All this make it even more affordable. Here’s a guide to help you understand “How to Set Up a Home Solar System in Pakistan”.
Why Solar Power Makes Sense for Your Home
Switching to solar power isn’t just an environmentally friendly choice. It’s also a smart financial move. Solar can bring down electricity bills, shield you from future price hikes. And it can also give you more control over your power usage. With the net metering policy in Pakistan, you can even sell any excess electricity back to the grid. This option can also make your investment even more worthwhile.
Step 1: Determine Your Household’s Energy Needs
To get started, you’ll need to understand how much electricity your household uses. Most electricity bills show monthly kilowatt-hour (kWh) usage. This can be used to determine your solar power system’s size.
Quick Calculation Example. If your household averages around 500 kWh per month, that’s your target output for solar system.
Step 2: Choose Between On-Grid and Off-Grid Systems
Pakistan offers two main types of solar power systems. Each option has its advantages depending on your location and needs.
On-Grid (Grid-Tied) System
An on-grid system connects your solar panels directly to the main power grid. Allowing you to sell excess energy back to the grid. This setup is excellent if you live in an area with reliable electricity.
Understanding Net Metering in Pakistan
The Net Metering policy in Pakistan, governed by NEPRA (National Electric Power Regulatory Authority). The policy allows households with on-grid solar systems to send extra electricity back to the grid in exchange for credits. Here’s what you need to know:
- Application Process: Apply for net metering with your local Distribution Company (DISCO), like LESCO, KE, or MEPCO. This involves submitting documents such as an NOC, system details, and proof of certification from a NEPRA-certified installer.
- Bi-Directional Meter: Upon approval, your DISCO will install a special bi-directional meter. This tracks both the power you use from the grid and the excess energy you export.
- Billing Credits: Through net metering, the electricity you send to the grid can help offset your bill. Meaning you might only pay for what you use beyond your solar production.
Off-Grid System
An off-grid system is completely independent from the power grid. This system requires battery storage to hold excess energy for use during the night. This option is best for rural areas or locations with frequent load shedding.
My Experience: I installed an on-grid system to benefit from net metering. It’s been a game-changer for my bills!
Step 3: Calculate How Much Solar Power You’ll Need
Once you know your energy needs, you’ll want to calculate the size of your solar system.
- Find Your Daily Energy Use: Divide your monthly kWh usage by 30.
- Determine Panel Needs: Divide your daily kWh usage by average sunlight hours (around 5-6 hours in Pakistan), and divide by panel wattage.
For example, if you need around 500 kWh per month, a 5 kW system with about 12-15 solar panels should suit your needs.
Step 4: Pick Quality Equipment
Investing in high-quality equipment will ensure that your system runs efficiently and lasts longer.
Solar Panels
Choose solar panels from reputable brands. The brand should offer high efficiency and durability, such as JA Solar or Canadian Solar. Look for panels with a long warranty period (20-25 years).
Inverter
Your inverter converts the DC electricity from your panels into AC power. A hybrid inverter works best with a grid-tied system that also uses battery storage.
Batteries (if Off-Grid)
If you choose an off-grid system, you’ll need batteries to store your excess energy. Lithium-ion batteries are more expensive but they last longer. They also require less maintenance than traditional lead-acid batteries.
Tip from Experience: Mt choice is always lithium-ion batteries for my off-grid needs. Although they cost more upfront, the longer life and lower maintenance have been worth it.
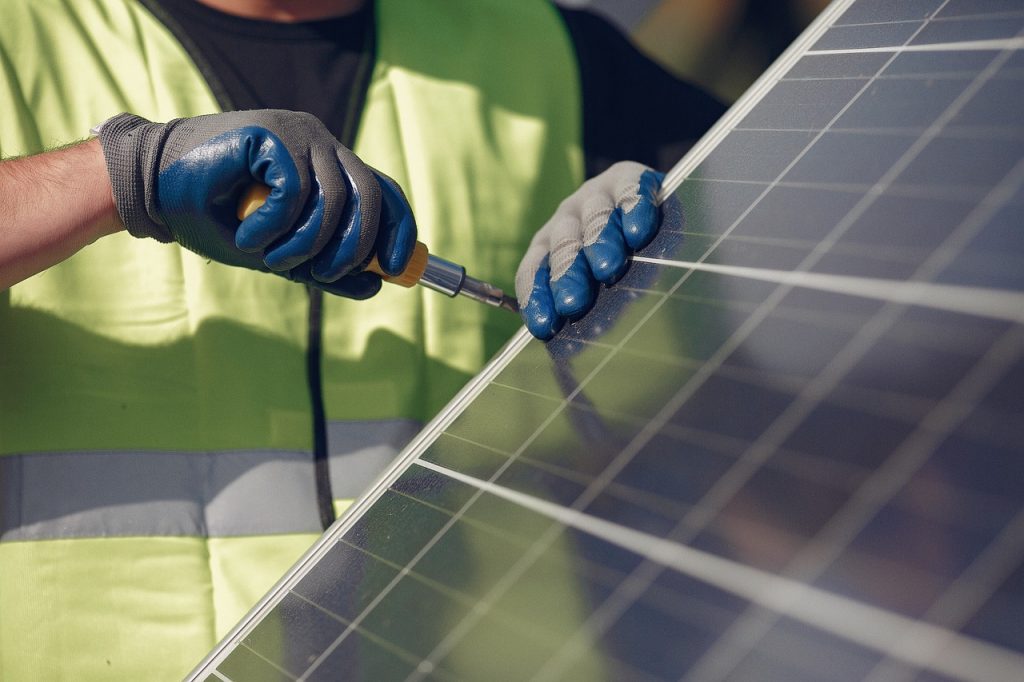
Step 5: Hire a Certified Solar Installer
Hiring a certified installer is essential to ensure a safe, efficient, and legal installation. Installers should be NEPRA-certified and ideally recommended by your local DISCO.
What to Ask Your Installer
- Experience with Similar Installations: It’s essential to work with someone familiar with your system size and type.
- Maintenance and Warranty Services: Make sure they offer ongoing support and a warranty.
- Help with Net Metering: Some installers also assist with net metering applications.
Step 6: Apply for Net Metering
Applying for net metering is a vital step for on-grid systems in Pakistan. Here’s a breakdown of the process:
- Submit Your Application: Through your DISCO, submit your all required documents. It includes your NOC, system specs, and certified installer details.
- Inspection and Approval: NEPRA conducts an inspection to ensure that your system meets safety and technical standards.
- Meter Installation: Once approved, a bi-directional meter is installed. It enables two-way tracking for the electricity you use and the surplus power you send to the grid.
Quick Note: A friend’s application process took around 5 weeks. But the solar system has significantly reduced his bills.
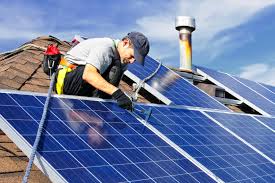
Step 7: Complete the Installation Process
After approval for net metering and purchasing the equipment, it’s time for installation. This process typically takes 1-3 days.
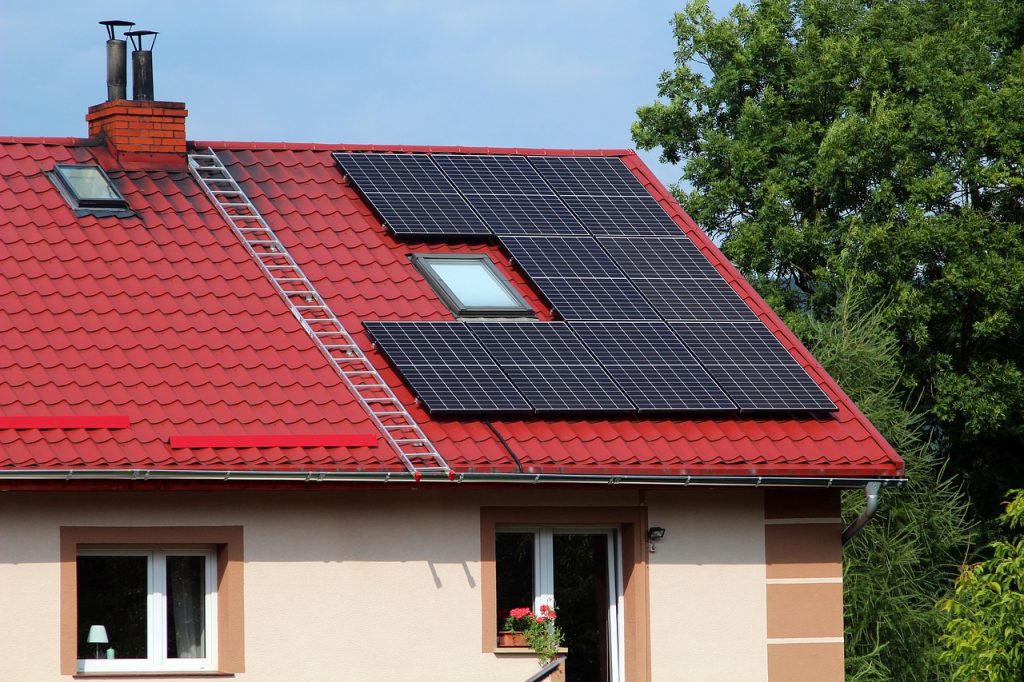
- Mount Panels: Panels are installed on your roof, ideally facing south (specific to Pakistan).
- Connect to Inverter and Battery (if applicable).
- System Testing: Your installer will test the system to ensure it’s running properly.
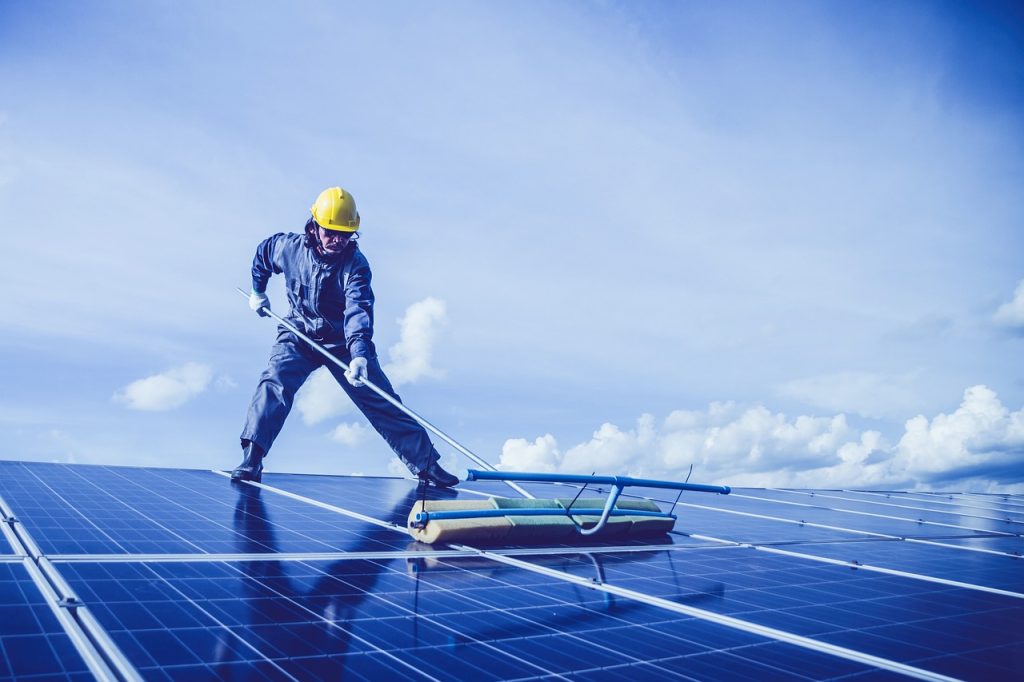
Step 8: Maintain Your Solar System
Solar systems require minimal maintenance. A few tasks can ensure maximum efficiency:
- Monthly Cleaning: Dust and bird droppings can block sunlight. Clean the panels with a gentle water spray monthly.
- Annual Check-Up: Schedule an inspection to check the inverter and batteries (if applicable).
My Tip: I clean my panels every month. Which has noticeably improved efficiency during the hot, dusty summers.
Key Benefits of Solar Power in Pakistan
Switching to solar power in Pakistan is about more than just cutting costs. Here’s what else it can bring:
- Energy Security: Gain independence from the grid and avoid load shedding.
- Reduced Bills: Net metering can significantly cut down or even eliminate your bill.
- Environmental Impact: Use clean, renewable energy to reduce pollution and carbon footprint.
FAQs
1. How much does it cost to install a solar system in Pakistan?
A 5 kW system can cost between PKR 500,000 and PKR 700,000. It depends on equipment quality and installation charges.
2. Can I use net metering if I live in a rural area?
Yes, as long as your local DISCO supports net metering. Be sure to check with your electricity provider.
3. How long does the net metering approval process take?
It typically takes 2-6 weeks. But it can vary based on your DISCO’s availability and NEPRA’s inspection timeline.
4. What is the average lifespan of a solar system?
With regular maintenance, most solar systems can last around 25-30 years.
5. Can solar panels work during cloudy days?
Yes, solar panels still produce energy on cloudy days. But at a reduced capacity. Pakistan’s sunny climate makes solar very reliable.
Setting up a solar system in Pakistan is a smart choice. This is good for both your wallet and the climate. With these steps, you can confidently transition to solar energy and enjoy the rewards of renewable power!

